Quick & Easy Oven Tri-Tip: Perfect Any Time of Year
There are some culinary delights that instantly elevate a meal, transforming an ordinary evening into something special. Tri-tip is undoubtedly one of them. For many, this flavorful cut of beef has long been a warm-weather grilling staple, synonymous with backyard barbecues and sun-drenched gatherings. But what if you could enjoy that same tender, juicy perfection year-round, regardless of the weather outside? The good news is, you absolutely can! Mastering tri tip in the oven opens up a world of culinary possibilities, delivering an impressive roast that's simple enough for a weeknight yet elegant enough for a holiday table.
Forget the notion that tri-tip is solely a grill master's domain. With the right technique, your oven can produce a tri-tip roast that's bursting with flavor, incredibly tender, and cooked to an ideal medium-rare every single time. This method is not only convenient but also offers a level of control that guarantees consistently delicious results. In this comprehensive guide, we'll walk you through everything you need to know to prepare a perfect oven-roasted tri-tip, from seasoning to slicing, ensuring a mouthwatering meal that will have everyone asking for seconds.
What is Tri-Tip and Why Choose the Oven?
Before we dive into the cooking process, let's get acquainted with this fantastic cut of meat. Tri-tip is a triangular cut of beef that comes from the bottom sirloin subprimal. Sometimes referred to as a "triangle roast," "bottom sirloin butt," or "Santa Maria steak," its popularity soared in California and is now steadily gaining recognition across the country. Chefs and home cooks alike appreciate tri-tip for its rich beefy flavor, excellent marbling, and relatively lean profile. It's often more affordable than comparable cuts while still offering premium taste and tenderness.
So, why cook tri tip in the oven? The answer is simple: convenience, consistency, and year-round enjoyment. Grilling certainly imparts a wonderful smoky char, but it's not always practical. Frigid temperatures, pouring rain, or even just a lack of outdoor space can make grilling a non-starter. The oven, however, is always ready. It provides a controlled, consistent heat source, which is crucial for achieving that ideal doneness without overcooking. This method ensures a beautiful crust from a preliminary sear and then gently roasts the interior to juicy perfection, making it an ideal choice for any season or occasion.
Mastering the Perfect Oven Tri-Tip: Step-by-Step Guide
Cooking tri tip in the oven is a straightforward process that combines searing for flavor and roasting for tenderness. Follow these steps for an unforgettable meal:
Preparation: Seasoning for Success
- Unpack and Pat Dry: Remove your tri-tip roast from its packaging. Using paper towels, pat the entire surface dry. This is a crucial step often overlooked, as a dry surface allows for a much better sear, creating that desirable crispy crust.
- Season Liberally: Place the roast on a clean work surface. Many chefs recommend a heavy-duty piece of aluminum foil for easy cleanup. Now, season both sides generously with kosher salt and freshly cracked black pepper. Don't be shy; a good amount of seasoning creates a flavorful crust. If you prefer, you can use your favorite beef or steak seasoning blend. Use clean hands to pat the seasoning firmly onto all surfaces of the meat, ensuring an even coating.
- Optional Flavor Boosts: For added depth, consider pressing minced fresh garlic or chopped fresh rosemary directly onto the seasoned roast. These aromatics will infuse the meat with incredible fragrance as it cooks.
The Searing Secret: Flavor Lock-In
Searing is not just about browning; it's about developing complex flavors through the Maillard reaction, which creates hundreds of new flavor compounds. This step is non-negotiable for a truly delicious oven-roasted tri-tip.
- Preheat Your Pan: Heat a heavy-bottomed, oven-safe skillet (a cast iron pan is ideal due to its excellent heat retention) over medium-high to high heat on your stovetop until it's very hot – almost smoking.
- Add Oil: Drizzle a small amount of high smoke point oil, like olive oil or avocado oil, into the hot pan. Tilt the pan to coat the entire bottom surface.
- Sear the Roast: Carefully place the seasoned tri-tip into the hot pan. Sear undisturbed for 3-4 minutes per side. Resist the urge to move or flip it too early. You want a deep, golden-brown crust. Only turn the roast once to sear the other side.
Roasting to Perfection: Temperature is Key
After searing, the roast transitions from stovetop to oven to cook through evenly.
- Transfer to Oven: Once both sides are beautifully seared, transfer the entire oven-safe pan directly into a preheated oven set to 375°F (190°C).
- Cook to Temperature: Roast for approximately 10 minutes per pound, though this can vary depending on your oven and the roast's starting temperature. The most accurate way to determine doneness is by using an instant-read meat thermometer inserted into the thickest part of the roast, avoiding bone or gristle. For the most tender and juicy results, tri-tip is best cooked to medium-rare.
- Rare: 125-130°F (52-54°C)
- Medium-Rare: 130-135°F (54-57°C) - This is often recommended for tri-tip. Remove from oven at 130-132°F as it will continue to cook during resting.
- Medium: 135-140°F (57-60°C)
The Crucial Rest: Don't Skip It!
This step is as important as the cooking itself. Resting allows the meat's fibers to relax and the juices to redistribute throughout the roast, ensuring maximum tenderness and juiciness. Skipping it will result in dry, tough meat.
- Remove and Rest: Once your tri-tip reaches your desired internal temperature, carefully remove the hot pan from the oven. Immediately transfer the roast to a cutting board.
- Tent with Foil: Loosely tent the roast with aluminum foil. Do not wrap it tightly, as this can steam the meat and soften the crust. Let it rest for a minimum of 10-15 minutes. For larger roasts, 20-25 minutes is ideal.
Finishing Touches: Butter, Garlic & Herbs
While the roast rests, you can create an incredible pan sauce using the flavorful drippings.
- Make Pan Sauce: If you're using the same skillet, place it back on the stovetop over low heat (be careful, it's still very hot!). Drop several pats of unsalted butter into the pan along with a few cloves of smashed garlic. The residual heat and gentle stovetop warmth will quickly melt the butter and cook the garlic, combining with all those delicious pan drippings.
- Add Fresh Herbs: This is also the perfect time to stir in freshly chopped herbs like rosemary, thyme, or parsley.
- Baste: Use a spoon to tilt the pan and baste your rested tri-tip with these rich, aromatic juices just before slicing.
Tips for the Juiciest, Most Tender Tri-Tip Every Time
Achieving consistently perfect tri-tip involves a few key considerations and pro tips:
- Know Your Thermometer: An accurate instant-read meat thermometer is your best friend. Don't guess; internal temperature is the only reliable indicator of doneness. Remember that meat continues to cook by "carryover heat" after being removed from the oven, so pull it 3-5 degrees below your target temperature.
- Don't Overcook: Tri-tip is a lean cut and prone to drying out if overcooked. Aim for medium-rare to medium for optimal tenderness and flavor. Anything beyond medium will start to compromise its succulence. For more detailed insights on achieving the perfect texture, explore How to Cook Tri-Tip in the Oven for Tender, Juicy Results.
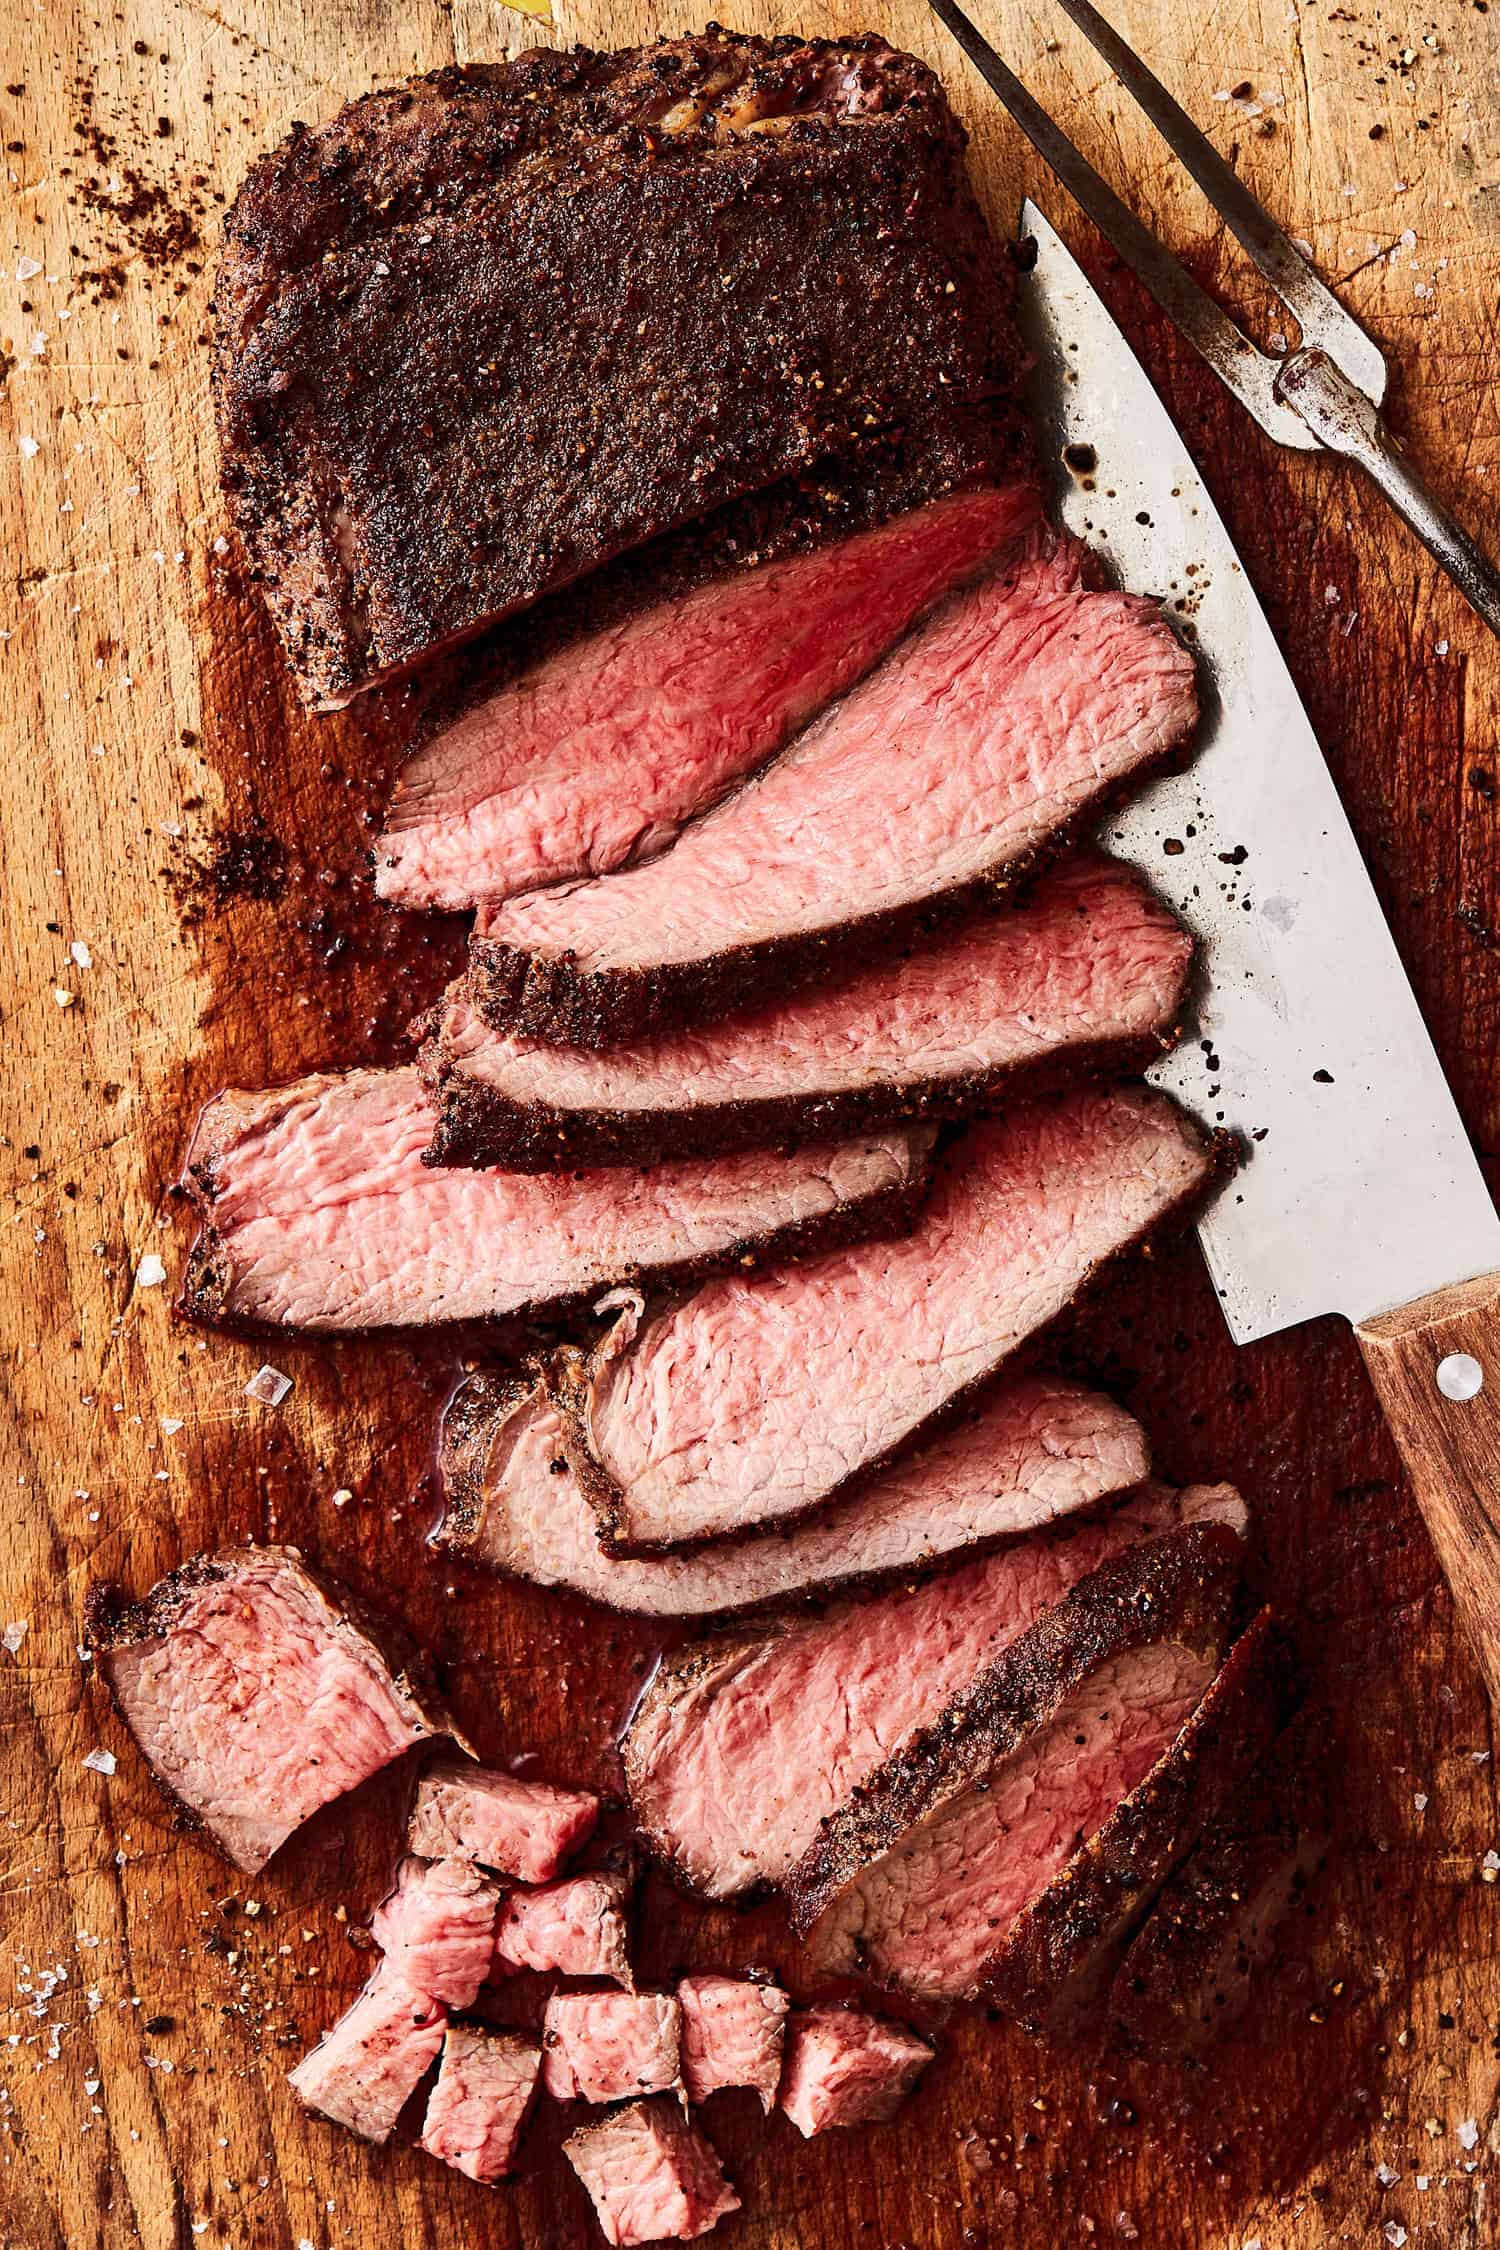
- Slicing Against the Grain: This is arguably the most critical step for tenderness after cooking. Tri-tip has two distinct grain patterns that run in different directions. Identify these grains before slicing. You'll want to cut the roast into two pieces where the grain changes direction, then slice each piece *against* its respective grain into thin strips. This shortens the muscle fibers, making the meat incredibly tender.
- Preheat Oven and Pan Thoroughly: A properly preheated oven ensures even cooking, and a screaming hot pan is essential for a beautiful sear.
Serving Suggestions & Leftover Brilliance
Once your beautifully roasted tri tip in the oven is sliced, the serving possibilities are endless. Its robust flavor pairs wonderfully with a variety of sides.
- Classic Companions: Serve with roasted potatoes, mashed potatoes, a crisp green salad, or grilled asparagus for a complete meal.
- Elevated Dinner: For a more gourmet touch, accompany it with a chimichurri sauce, a red wine reduction, or creamy polenta.
- Casual Feast: Enjoy it simply with some crusty bread to soak up those delicious pan juices.
And let's not forget about leftovers! Tri-tip makes fantastic next-day meals:
- Sandwiches & Wraps: Thinly sliced tri-tip is incredible in sandwiches, especially with a horseradish mayo or caramelized onions.
- Salads: Add cold sliced tri-tip to a hearty salad for a protein-packed lunch.
- Tacos & Quesadillas: Dice up the meat and use it as a filling for gourmet tacos or cheesy quesadillas.
- Breakfast Hash: A truly indulgent option, dice the tri-tip and add it to a breakfast hash with potatoes and onions.
For more creative serving ideas and to perfect your medium-rare technique, delve into Ultimate Oven-Roasted Tri-Tip: From Sear to Perfect Medium-Rare.
Cooking tri tip in the oven is a reliable, rewarding method that ensures a flavorful and tender roast every single time. It's a fantastic solution for enjoying this beloved cut regardless of the season or occasion. With its versatility, ease of preparation, and mouthwatering results, oven-roasted tri-tip is sure to become a staple in your culinary repertoire. So, go ahead, grab that roast, and prepare to impress your family and friends with a meal that tastes like you spent hours in the kitchen, when in reality, it was quick, easy, and absolutely delicious!
